Gluten-Free Greek Yogurt Bagels
why make this recipe
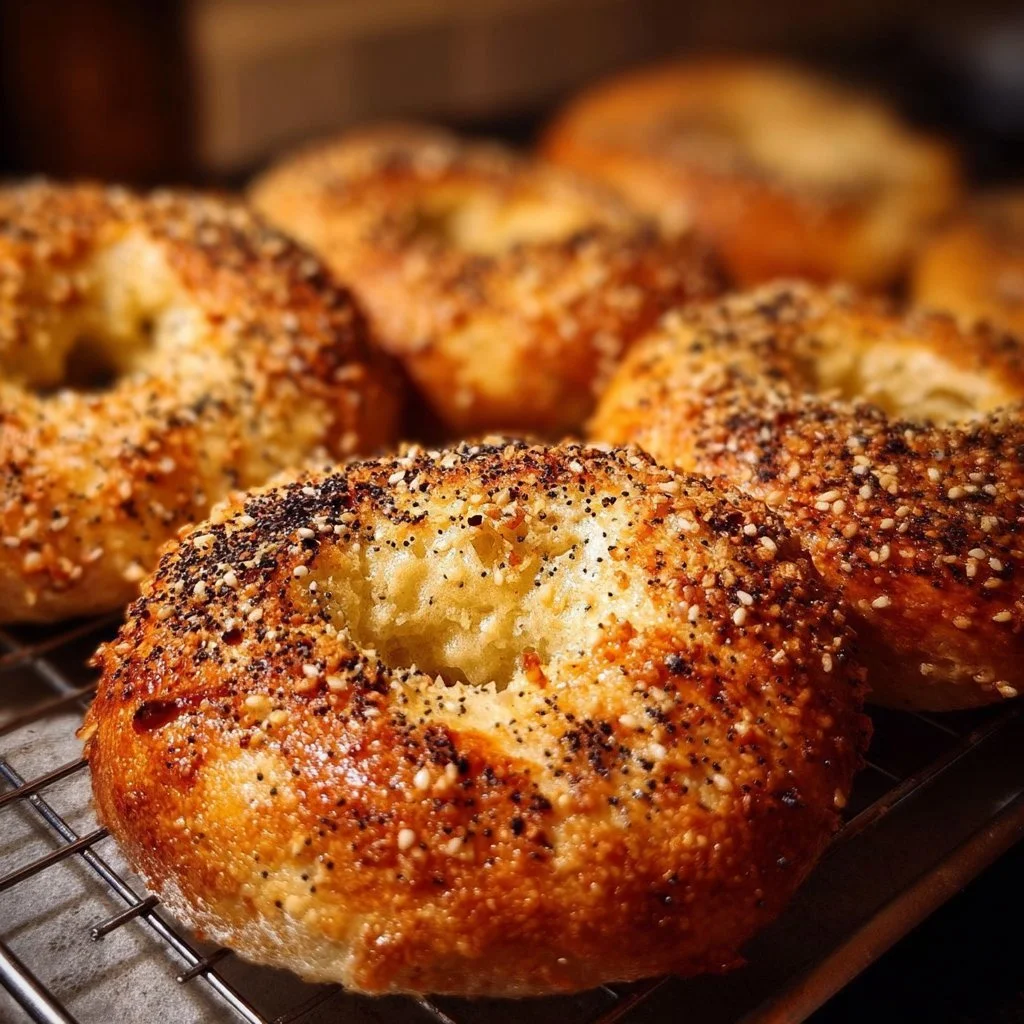
Gluten-Free Greek Yogurt Bagels are a fantastic choice for anyone looking for a delicious yet healthy option. They are easy to make and provide a rich source of protein from the Greek yogurt. This recipe not only caters to those with gluten sensitivities, but also offers a lighter alternative to traditional bagels. By using simple ingredients, you can create a tasty breakfast or snack that everyone will love.
how to make Gluten-Free Greek Yogurt Bagels
Ingredients:
- 1 1/2 cups gluten-free all-purpose flour blend
- 1 teaspoon baking powder
- 1/2 teaspoon baking soda
- 1/2 teaspoon salt
- 1 cup Greek yogurt (plain, full fat)
- 1 tablespoon honey or maple syrup (optional)
- 1 egg white (for egg wash, optional)
- Sesame seeds or everything bagel seasoning (optional)
Directions:
- Preheat the oven to 375°F (190°C) and line a baking sheet with parchment paper.
- In a large bowl, whisk together the gluten-free flour, baking powder, baking soda, and salt.
- Add the Greek yogurt and honey (if using) to the dry ingredients and mix until a dough forms.
- Lightly flour a clean surface with gluten-free flour and knead the dough gently until smooth, about 1-2 minutes.
- Divide the dough into 4 equal portions.
- Roll each portion into a ball, then poke a hole through the center with your finger and gently shape into a bagel ring.
- Place the bagels onto the prepared baking sheet.
- If desired, brush the tops with egg white and sprinkle with sesame seeds or everything bagel seasoning.
- Bake for 20-25 minutes, until golden brown and cooked through.
- Remove from oven and let cool slightly before slicing and serving.
how to serve Gluten-Free Greek Yogurt Bagels
You can serve these bagels plain or top them with your favorite spreads. Cream cheese, avocado, or nut butter pairs well with them. They also taste great when toasted and can be served with fruits or smoked salmon for a savory treat.
how to store Gluten-Free Greek Yogurt Bagels
Store any leftover bagels in an airtight container at room temperature for up to 2 days. If you want to keep them longer, consider freezing them. Wrap each bagel tightly in plastic wrap and place them in a freezer bag. They can be frozen for up to 3 months.
tips to make Gluten-Free Greek Yogurt Bagels
- Make sure to use a gluten-free flour blend that has xanthan gum included for the best texture.
- Don’t over-knead the dough; just knead until smooth to keep the bagels light.
- Experiment with different toppings like poppy seeds or dried herbs to add extra flavor.
variation
You can easily customize these bagels by adding mix-ins or toppings. Try adding herbs like rosemary or thyme to the dough for an herbed bagel. You can also mix in cheese, like shredded cheddar, for a cheesy twist.
FAQs
Q: Can I use non-fat Greek yogurt?
A: Yes, you can use non-fat Greek yogurt, but full-fat yogurt gives a richer flavor and texture.
Q: How can I make these bagels vegan?
A: Replace the Greek yogurt with a plant-based yogurt and omit the egg wash. You can brush with a little almond milk instead.
Q: Can I make these bagels ahead of time?
A: Yes, you can prepare the dough and shape the bagels ahead of time. Store them in the fridge for up to 24 hours before baking.

Gluten-Free Greek Yogurt Bagels
Ingredients
Method
- Preheat the oven to 375°F (190°C) and line a baking sheet with parchment paper.
- In a large bowl, whisk together the gluten-free flour, baking powder, baking soda, and salt.
- Add the Greek yogurt and honey (if using) to the dry ingredients and mix until a dough forms.
- Lightly flour a clean surface with gluten-free flour and knead the dough gently until smooth, about 1-2 minutes.
- Divide the dough into 4 equal portions.
- Roll each portion into a ball, then poke a hole through the center with your finger and gently shape into a bagel ring.
- Place the bagels onto the prepared baking sheet.
- If desired, brush the tops with egg white and sprinkle with sesame seeds or everything bagel seasoning.
- Bake for 20-25 minutes, until golden brown and cooked through.
- Remove from oven and let cool slightly before slicing and serving.