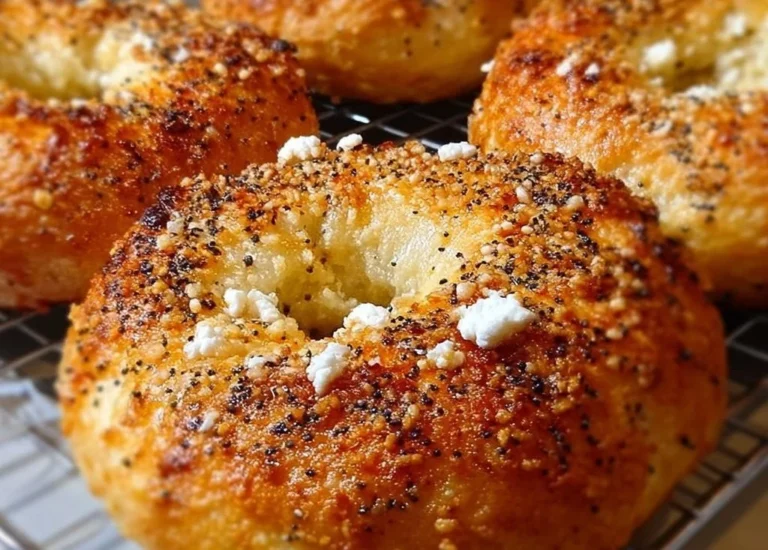
Gluten-Free Cheese Danish
Why Make This Recipe
Gluten-Free Cheese Danish is a delightful treat that caters to those who are gluten intolerant or simply prefer gluten-free options. This pastry combines a creamy cheese filling with a flaky outer layer, offering a deliciously satisfying snack for breakfast or dessert. It’s easy to make, and the ingredients are simple and accessible, making it perfect for both experienced bakers and beginners alike.
How to Make Gluten-Free Cheese Danish
Ingredients:
- 1 sheet gluten-free puff pastry, thawed
- 4 ounces cream cheese, softened
- 2 tablespoons granulated sugar
- 1/2 teaspoon vanilla extract
- 1 teaspoon fresh lemon juice
- 1 egg, lightly beaten (for egg wash)
- 1 tablespoon powdered sugar (optional, for dusting)
Directions:
-
Preheat your oven to 400°F (200°C). Line a baking sheet with parchment paper.
-
Unfold the thawed gluten-free puff pastry sheet onto the prepared pan.
-
In a small bowl, beat the softened cream cheese, granulated sugar, vanilla extract, and lemon juice together until the mixture is smooth and creamy.
-
Cut the pastry sheet into 4 equal squares. Spoon a generous tablespoon of the cream cheese mixture into the center of each square.
-
Fold two opposite corners of each square into the center, pressing down lightly to seal.
-
Brush the tops with the beaten egg wash.
-
Bake for 15-18 minutes, or until the pastries are puffed up and a deep golden brown.
-
Let them cool on the baking sheet for a few minutes before dusting with powdered sugar.
How to Serve Gluten-Free Cheese Danish
These pastries are best served warm. You can enjoy them right out of the oven or let them cool for a few minutes. Pair them with a cup of coffee or tea for a delightful breakfast or afternoon snack.
How to Store Gluten-Free Cheese Danish
To store the Gluten-Free Cheese Danish, place them in an airtight container at room temperature for up to 2 days. If you want to keep them longer, you can refrigerate them for up to a week. For best results, reheat in the oven before serving to restore their flakiness.
Tips to Make Gluten-Free Cheese Danish
- Ensure your puff pastry is fully thawed before using it, as this will help achieve the best texture.
- Adjust the sweetness by adding more or less sugar to the cream cheese filling according to your taste.
- Feel free to experiment with additions like fruit or chocolate chips in the cheese mixture for a fun twist.
Variation
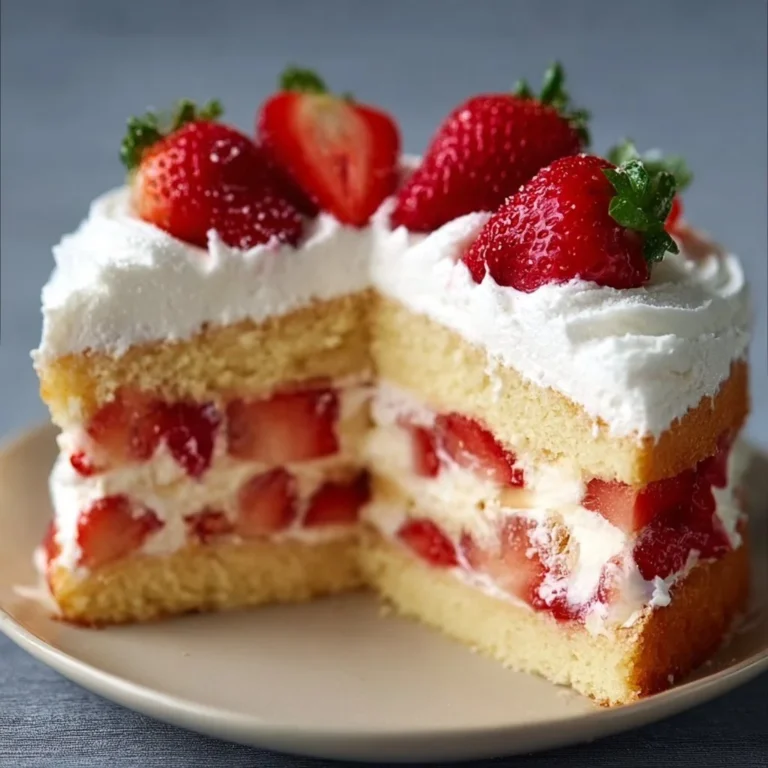
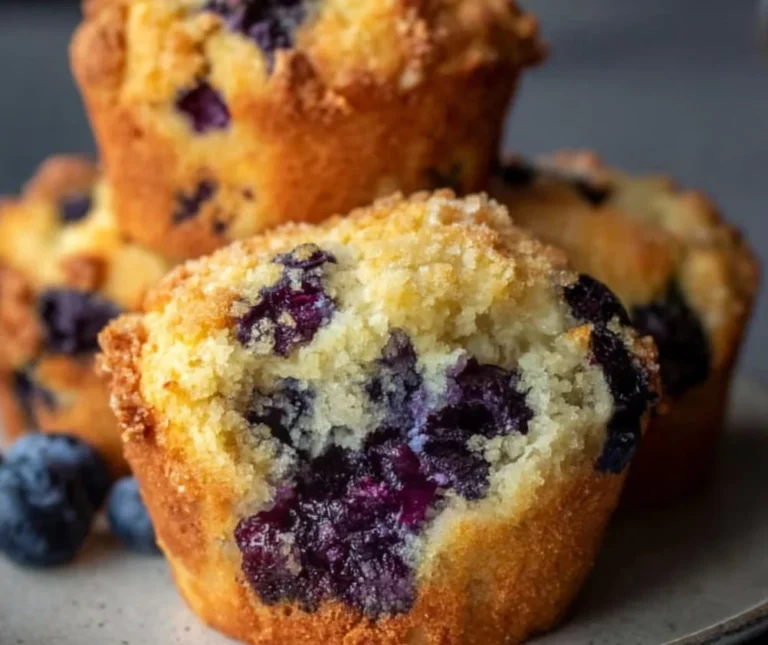
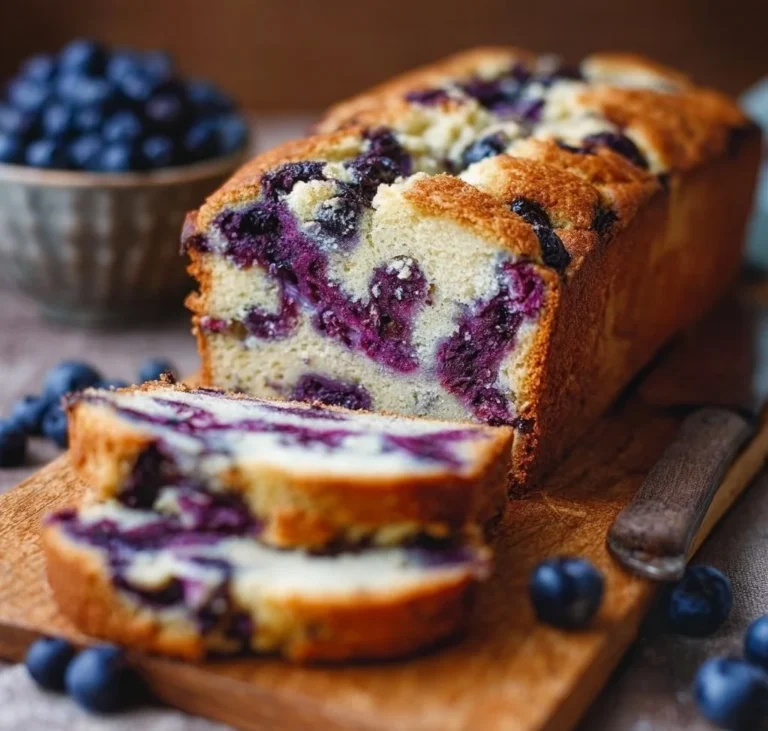
You can make variations by adding fresh fruit such as blueberries or strawberries inside the cream cheese filling for a fruity flavor. Alternatively, swap in lemon zest for extra zestiness or use different extracts like almond or lemon for a unique taste.
FAQs
-
Can I use regular puff pastry instead of gluten-free?
Yes, if you do not require a gluten-free option, regular puff pastry can be used. -
Is there a dairy-free option for the cream cheese?
Yes, you can use dairy-free cream cheese alternatives available in stores for a dairy-free version. -
Can I freeze the Gluten-Free Cheese Danish?
Yes, you can freeze them before baking. Just wrap them tightly and store them in the freezer. Bake directly from frozen, adding a few extra minutes to the baking time.

Gluten-Free Cheese Danish
Ingredients
Method
- Preheat your oven to 400°F (200°C). Line a baking sheet with parchment paper.
- Unfold the thawed gluten-free puff pastry sheet onto the prepared pan.
- In a small bowl, beat the softened cream cheese, granulated sugar, vanilla extract, and lemon juice together until the mixture is smooth and creamy.
- Cut the pastry sheet into 4 equal squares.
- Spoon a generous tablespoon of the cream cheese mixture into the center of each square.
- Fold two opposite corners of each square into the center, pressing down lightly to seal.
- Brush the tops with the beaten egg wash.
- Bake for 15-18 minutes, or until the pastries are puffed up and a deep golden brown.
- Let them cool on the baking sheet for a few minutes before dusting with powdered sugar.