Gluten-Free Tart Shells
Why make this recipe
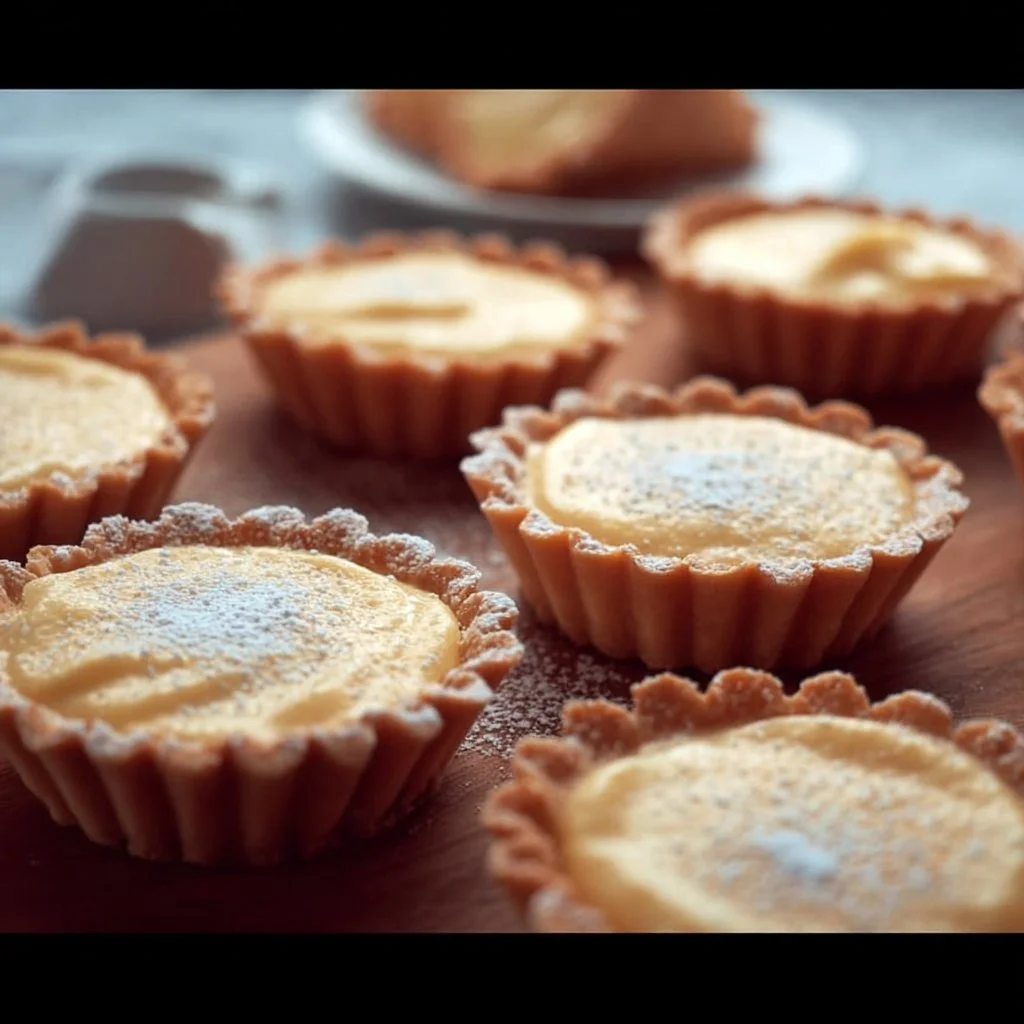
Gluten-Free Tart Shells are perfect for anyone looking for a delicious dessert without gluten. Whether you are gluten intolerant or just want to try something different, these tart shells are easy to make and taste amazing. They are versatile, as you can fill them with different fruits, creams, or chocolate, making them a great treat for any occasion.
How to make Gluten-Free Tart Shells
Ingredients:
- 1 1/2 cups gluten-free flour blend
- 1/2 cup unsalted butter, softened
- 1/4 cup powdered sugar
- 1/4 teaspoon salt
- 1 large egg yolk
- 1 teaspoon vanilla extract
Directions:
- Preheat your oven to 350°F (175°C).
- In a mixing bowl, combine the gluten-free flour blend, softened butter, powdered sugar, and salt. Mix until the dough is crumbly.
- Add the egg yolk and vanilla extract. Mix until a dough forms.
- Press the dough into mini tart pans or a standard cupcake tin evenly.
- Bake for 12-15 minutes, or until the edges are lightly golden.
- Allow the tart shells to cool before filling with your favorite fillings.
How to serve Gluten-Free Tart Shells
Once your tart shells are cool, you can fill them with a variety of fillings. Some great options include fresh fruit, chocolate mousse, or pastry cream. You can also top them with whipped cream or a dusting of powdered sugar for extra sweetness.
How to store Gluten-Free Tart Shells
Store any unused tart shells in an airtight container at room temperature for up to 3 days. If you want to keep them longer, you can refrigerate them for up to a week. Just make sure to let them come to room temperature before serving.
Tips to make Gluten-Free Tart Shells
- Make sure the butter is softened to room temperature to help the dough mix well.
- If the dough feels too dry, you can add a teaspoon of cold water to help bring it together.
- Use a gluten-free flour blend that contains xanthan gum for better texture.
Variation
You can experiment with different flavors by adding a bit of lemon or almond extract to the dough. Each version will give you a unique taste for your tart shells.
FAQs
1. Can I use a regular flour blend instead of gluten-free?
No, this recipe is specifically designed for a gluten-free flour blend. Regular flour will change the texture and make it unsuitable for those avoiding gluten.
2. How do I know when the tart shells are done baking?
Look for lightly golden edges. The shells should not look wet or doughy in the center.
3. Can I freeze the tart shells?
Yes, you can freeze the baked tart shells. Wrap them tightly in plastic wrap and place them in a freezer bag. They can be frozen for up to a month. Just thaw them in the refrigerator before filling.

Gluten-Free Tart Shells
Ingredients
Method
- Preheat your oven to 350°F (175°C).
- In a mixing bowl, combine the gluten-free flour blend, softened butter, powdered sugar, and salt. Mix until the dough is crumbly.
- Add the egg yolk and vanilla extract. Mix until a dough forms.
- Press the dough into mini tart pans or a standard cupcake tin evenly.
- Bake for 12-15 minutes, or until the edges are lightly golden.
- Allow the tart shells to cool before filling with your favorite fillings.