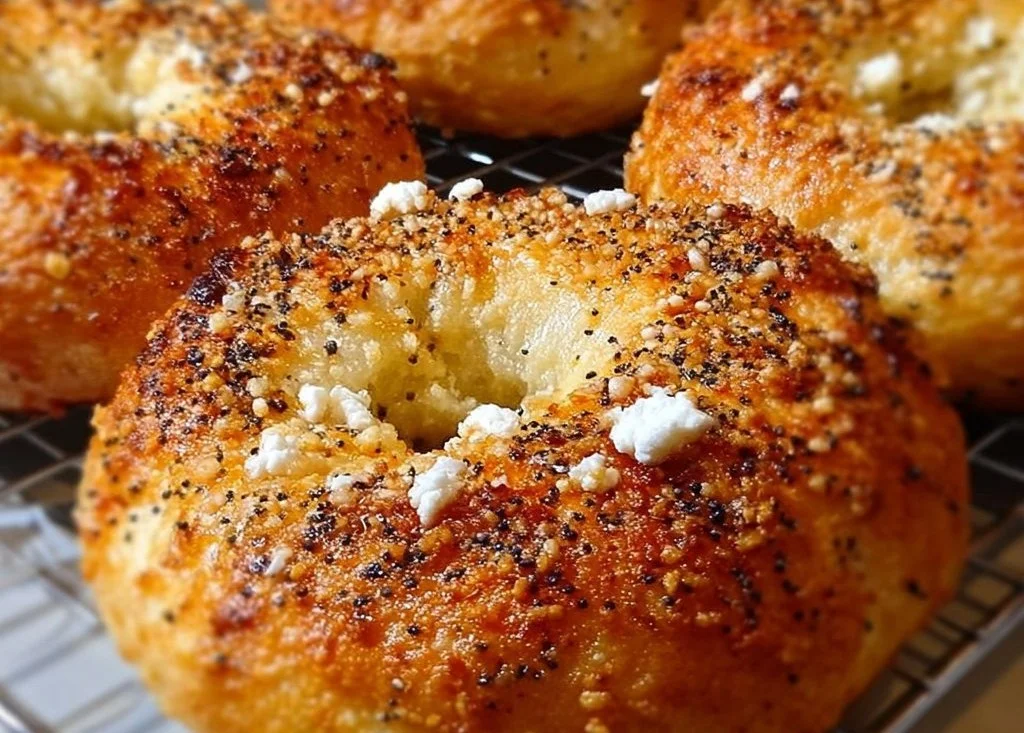
Gluten-Free Greek Yogurt Bagels
why make this recipe
Gluten-Free Greek Yogurt Bagels are a fantastic choice for anyone looking for a healthier breakfast option or snack. They are simple to make, require minimal ingredients, and are a great way to enjoy bagels without gluten. By using Greek yogurt, these bagels are not only delicious but also packed with protein, making them satisfying. Plus, making your own bagels at home is fun and rewarding!
how to make Gluten-Free Greek Yogurt Bagels
Ingredients:
- 1 1/2 cups gluten-free all-purpose flour
- 1 teaspoon baking powder
- 1/2 teaspoon baking soda
- 1/2 teaspoon salt
- 1 1/4 cups plain Greek yogurt
- 1 tablespoon honey or maple syrup (optional)
- 1 egg white, beaten (for brushing)
- Sesame seeds or everything bagel seasoning for topping (optional)
Directions:
- Preheat your oven to 375°F (190°C) and line a baking sheet with parchment paper.
- In a large bowl, whisk together the gluten-free flour, baking powder, baking soda, and salt.
- Add the Greek yogurt and honey or maple syrup (if using) to the dry ingredients. Mix until a dough forms. It should feel slightly sticky but manageable; add a bit more flour if it’s too sticky.
- Divide the dough into 4 equal pieces and shape each one into a ball.
- Poke a hole through the center of each ball and gently shape them into bagels.
- Place the bagels on the prepared baking sheet and brush each with the beaten egg white.
- If desired, sprinkle sesame seeds or everything bagel seasoning on top.
- Bake for 20-25 minutes, until golden brown and cooked through.
- Allow to cool slightly before serving. Enjoy warm or toasted.
how to serve Gluten-Free Greek Yogurt Bagels
These bagels are delicious on their own, but you can also serve them with cream cheese, butter, or your favorite spreads. They also go well with toppings like smoked salmon, cucumber slices, or avocado for a more filling meal.
how to store Gluten-Free Greek Yogurt Bagels
You can store any leftover bagels in an airtight container at room temperature for a couple of days. For longer storage, wrap them individually in plastic wrap and freeze. When you want to enjoy one, simply thaw it at room temperature or toast it straight from the freezer.
tips to make Gluten-Free Greek Yogurt Bagels
- Make sure to measure your flour correctly by spooning it into your measuring cup and leveling it off with a straight edge.
- If the dough is too sticky, add a little more flour until it’s easy to handle.
- Don’t skip the egg wash; it helps give the bagels a nice golden color.
- If you want a sweeter bagel, increase the amount of honey or maple syrup.
variation (if any)
You can add ingredients like cheese, herbs, or spices to the dough for different flavors. For example, grated cheese can create a cheesy bagel, while adding garlic powder or onion flakes can give it a savory twist.
FAQs
Can I use regular yogurt instead of Greek yogurt?
You can use regular yogurt, but the texture may be different. Greek yogurt gives a denser bagel.
How can I make these bagels vegan?
To make them vegan, use a plant-based yogurt and a plant-based egg wash alternative, such as almond milk.
Can I double the recipe?
Yes, you can easily double the recipe to make more bagels. Just make sure to have a larger mixing bowl for the dough.
Gluten-Free Greek Yogurt Bagels
Ingredients
Method
- Preheat your oven to 375°F (190°C) and line a baking sheet with parchment paper.
- In a large bowl, whisk together the gluten-free flour, baking powder, baking soda, and salt.
- Add the Greek yogurt and honey or maple syrup (if using) to the dry ingredients. Mix until a dough forms. It should feel slightly sticky but manageable; add a bit more flour if it’s too sticky.
- Divide the dough into 4 equal pieces and shape each one into a ball.
- Poke a hole through the center of each ball and gently shape them into bagels.
- Place the bagels on the prepared baking sheet and brush each with the beaten egg white.
- If desired, sprinkle sesame seeds or everything bagel seasoning on top.
- Bake for 20-25 minutes, until golden brown and cooked through.
- Allow to cool slightly before serving. Enjoy warm or toasted.